This tutorial will show you how to serve online media using AWS S3 and CloudFront. CDN in this article refers to AWS CloudFront CDN (Content Delivery Network) which comes native for S3 hosted files
Step 1:
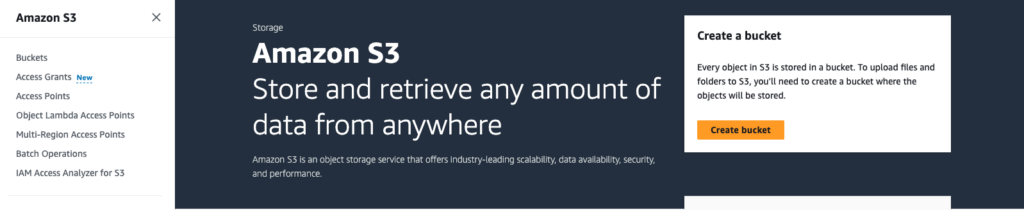
Go to Amazon S3 and create a bucket
https://s3.console.aws.amazon.com/s3/get-started
Step 2:
Upload some video, pdf. etc files to the bucket for serving

Step3:
The files uploaded should be viewable online via s3 link now, hooray:) but stop for second, there is no security around it, meaning it can be downloaded by anyone, if that is what you want. stop at step3 and do not look further, it is irrelevant.
if you want these uploaded files can only be fetched / readable via a website, e.g. www.yourdomain.com, not a s3 link, you need to add permissions. follow through the article
Step 4:
In the bucket, go to “permissions” tab, and scroll down to “bucket policy”
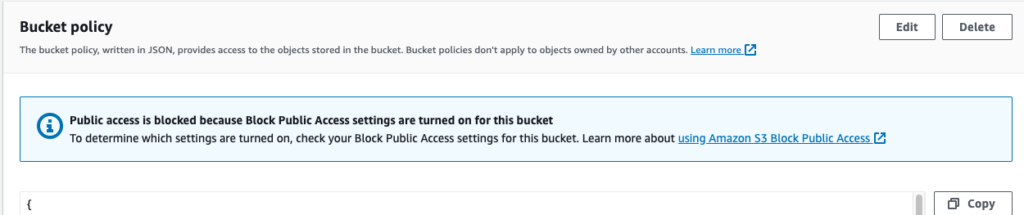
click “Edit” and fill in the policy similar to below
{
	"Version": "2008-10-17",
	"Id": "Policy1111111",
	"Statement": [
	   {
		"Sid": "[any string Id]",
		"Effect": "Allow",
		"Principal": {
		     "AWS": "*"
		},
		"Action": "s3:GetObject",
		"Resource": "arn:aws:s3:::[your_bucket_name]/*",
		"Condition": {
		      "StringLike": {
			  "aws:Referer": [
				"https://yourdomain1.com/*",
				"https://yourdomain2.com/*"
			  ]
		      }
		}
	    }
         ]
}
Cool, this will make your S3 files only visible on https://yourdomain1.com and https://yourdomain2.com. you can add more domains in aws:Referer section. Therefore, files are not downloadable by a public s3 link anymore.
Next, if you have a lot of visitors from different places. media files on s3 can get very crowded, and will be very slow for some users. how to solve this problem ?
Step 5:
add Content Delivery Network
Goto CloudFront CDN provided by AWS, e.g. https://us-east-1.console.aws.amazon.com/cloudfront
Navigate to “Distribution” -> then “Create Distribution”

Origin Domain:
As this is using S3, pick an S3 bucket created from above steps. (e.g. it will be something like [yourbucket].s3.amazonaws.com). Leave “Origin Path” blank to keep it simple. “Name” will be auto filled with [yourbucket].s3.amazonaws.com
Origin access:
You can pick either “Origin access control settings (recommended)” or “Legacy access identities”
this will be related with Permission setup in later steps. Choose “Legacy access identities -CloudFront origin access identity (OAI)” for example, then
Create New OAI if not exists
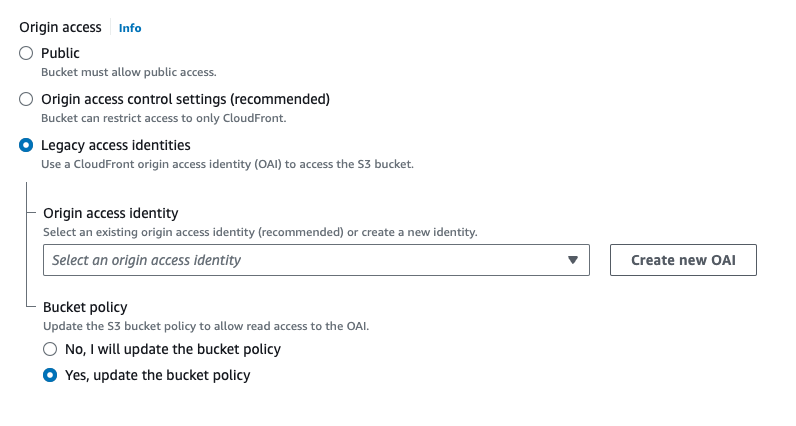
Choose “Yes, update the bucket policy”, this will insert a policy statement in S3 Permission section mentioned in step 4. you can also choose “No, I will update the bucket policy” to update the S3 Permission policy manually.
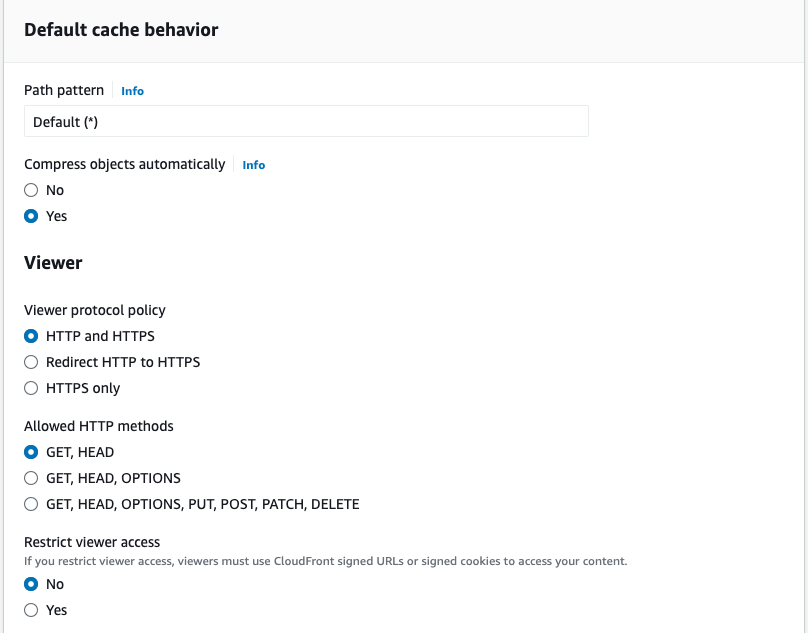
Leave “Default Cache behavior” as is.
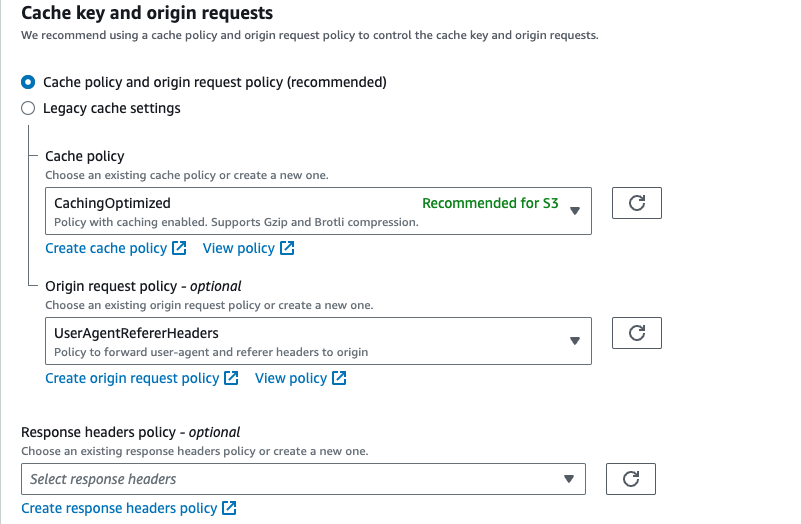
Step 6:
Setup Cache Policy
Choose “CachingOptimized” and Origin Request Policy to “UserAgentRefererHeaders”. This is NOT optional if S3 bucket have permissions setup already, it needs to forward the http headers from CDN to S3
Now Click “Create Distribution”, CloudFront CDN will be created.
Step 7:
Go back to S3 Permission tab from S3 console, validate if S3 bucket policy is updated or not, it should be something look like
{
  "Version": "2008-10-17",
  "Id": "Policy1408118342443",
  "Statement": [
    {
      "Sid": "Stmt111111demo",
      "Effect": "Allow",
      "Principal": {
        "AWS": "*"
      },
      "Action": "s3:GetObject",
      "Resource": "arn:aws:s3:::[your_bucket]/*",
      "Condition": {
        "StringLike": {
          "aws:Referer": [
            "https://www.yourdomain1.com/*",
            "https://www.yourdomain2.com/*"
          ]
        }
      }
    },
    {
      "Sid": "3",
      "Effect": "Allow",
      "Principal": {
        "AWS": "arn:aws:iam::cloudfront:user/CloudFront Origin Access Identity [someGUIDnumbers]"
      },
      "Action": "s3:GetObject",
      "Resource": "arn:aws:s3:::[your_bucket]/*",
      "Condition": {
        "StringLike": {
          "aws:Referer": [
            "https://www.yourdomain1.com/*",
            "https://www.yourdomain2.com/*"
          ]
        }
      }
    }
  ]
}
if you choose “Origin access control settings (recommended)” instead of “Legacy access identities” in Step 5, S3 permission will be something like
{
    "Sid": "AllowCloudFrontServicePrincipalReadOnly",
    "Effect": "Allow",
    "Principal": {
      "Service": "cloudfront.amazonaws.com"
    },
    "Action": "s3:GetObject",
    "Resource": [
      "arn:aws:s3:::[your_bucket]/*",
      "arn:aws:s3:::[your_bucket]"
    ],
    "Condition": {
      "StringEquals": {
        "AWS:SourceArn": "arn:aws:cloudfront::<AWS account ID>:distribution/<CloudFront distribution ID>"
      }
    }
  },
Step 8:
Now s3 media files can be accessed via both s3 link and CloudFront CDN link but only by yourdomain1.com and yourdomain2.com that was setup in s3 permissions.
To get CloudFront domains, goto CloudFront Distributions, e.g.
https://us-east-1.console.aws.amazon.com/cloudfront/v4/home#/distributions
Select the distribution, it will have
Distribution domain name [some guid].cloudfront.net
use it to access S3 files.
e.g. if your s3 file can be access via
https://[your bucket].s3.us-west-1.amazonaws.com/test.pdf
you can also access via Content Delivery Network as
[some guid].cloudfront.net/test.pdf
Congrats and you did an awesome job to read through the article.
More:
https://docs.aws.amazon.com/AmazonCloudFront/latest/DeveloperGuide/CNAMEs.html
https://www.codejam.info/2021/02/cloudfront-s3-signature-does-not-match.html
Do you like the tutorial “Serve Online Media using AWS S3 and CloudFront” ? If you want latest update and find more tips and tricks to build your own business platform, please checkout more articles on https://www.productdeploy.com and https://blog.productdeploy.com and subscribe the newsletter